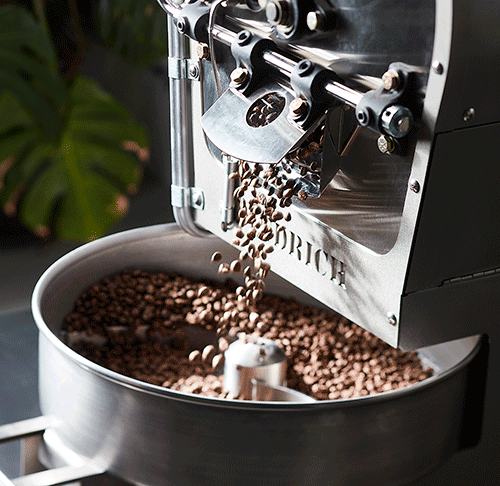
Learn to brew like the team at Criteria Coffee…
We’re going on record here! Yes, you can make café standard coffee from the comfort of home every time. Yes, there are a million and one ways to brew, and we’ve tried lots of them, but for us, the most successful coffee is always easy to make, accessible, and enjoyable!
Here are our failsafe recipes you can try at home…
But first, the overview.
Successful coffee extraction is balancing three primary parameters:
- The weight of the coffee grinds (dose).
- The grind size (how coarse or fine).
- The volume of water used to extract the finished brew (yield).
Here are a few reliable recipes that are a great starting point but can also be tweaked to suit your taste preferences after you’ve brewed them a few times.
Select your brew method from the list below to reveal our recommendations.
Espresso
The espresso brewing method forces water through grinds with pressure, making the extraction more efficient and occurring in a much shorter time. Because of this, you get flavour compounds out of the grinds faster and can also extract any unpleasant flavours easily.
It must be a smaller drink volume to taste nice – hence espresso should be somewhere between 25-40ml (20-40g) when finished.
If you prefer a darker roast, you will want to have fewer volume shots than a dose weight or a ratio between 1:1.55-1:1.6 (divide the yield by the dose). If your preference moves towards lighter and lighter roasts, you will need to pass more water through the handle to dilute and balance the acid compounds so it doesn’t become too sour. My ratio for the roast degree I prefer sits somewhere between 1:1.77-1:2
A note on my espresso recipe.
This is the recipe I settled on after ten years of competition. The recipe had to work with the technical rules of a specific basket size (where the grinds go in the handle) and the set water temperature (93.5 °c).
The process was a balancing act as to score well on the technical elements, I had to combine a roast level that allows the coffee to have complex flavour notes with the texture and structure of the drink. I even started to explore quick, reliable variations that would let the espresso taste elegant, balanced, and articulate but then also present easily identifiable flavours in the milk course.
At my last competition, the solution was to increase the dose (to 23.5g) without changing the grind setting. The effect of this was to slow the shot down so that I got a 36g yield in the same amount of time, which gave me a more concentrated espresso shot that helped the judges to find the flavours I presented more readily (this is a high-scoring category).
I encourage experimentation, but don’t forget all great experiments are measurable and repeatable.
Stove Top
Traditionally a pressurized espresso coffee preparation that you might also know by the name “moka pot”. The archetypical Bialetti was first made in 1933 and has proven to be a reliable and consistent home coffee making method for generations.
Our preferred grind setting sitting for stovetop is best defined as “a little bit courser than espresso”.
Method
Step 1. Boil the water and add it to the base of the container. Ensure the water is filled to just below the valve, never above the valve.
Step 2. Put the coffee into the filter, just enough to fill it. Don’t push down or tamp the coffee so it doesn’t become too tightly packed. (you can experiment with “tamping” once you have mastered the basics)
Step 3. Add the filter to the bottom section and screw the top on until closed – not too tightly!
Step 4. Add the stovetop to the heat -after a short amount of time coffee will start entering the top section of the stovetop.
It is finished when coffee stream seems to come to an end along with a hissing sound.
Expert Tip… as soon as the coffee coming out the top is hissing/spitting take it off the stove and wrap the bottom with a wet tea towel or run under cold water for a couple of seconds to immediately stop the brewing for the sweetest cup)
Remove from heat and enjoy!
Pour Over
Another popular brew method of the team, we prefer a medium grind setting when preparing a pour over coffee or V60 coffee.
Like an immersion brew, filter papers used are whichever you prefer, however pre-wetting the papers and heating the vessel are recommended for the best results.
6g of coffee per 100ml of 93 degree water
OR a 1:17 ratio
Method for 250ml / 1 cup brew.
Step 1. Set up your dripper, vessel and filter paper on the scales, add your coffee and tare the scales to zero.
Step 2. Start your timer and pour 50 grams of water over the grinds. Stir/agitate your grinds to ensure all the coffee has started the extraction process.
Step 3. Allow 30-40 seconds to bloom.
After the bloom, add another 100 grams of water.
Step 4. At 1 minute 15 seconds, add a final 100 grams of water.
Wait for all the water to drain from the dripper and enjoy your brew!
Clever Dripper
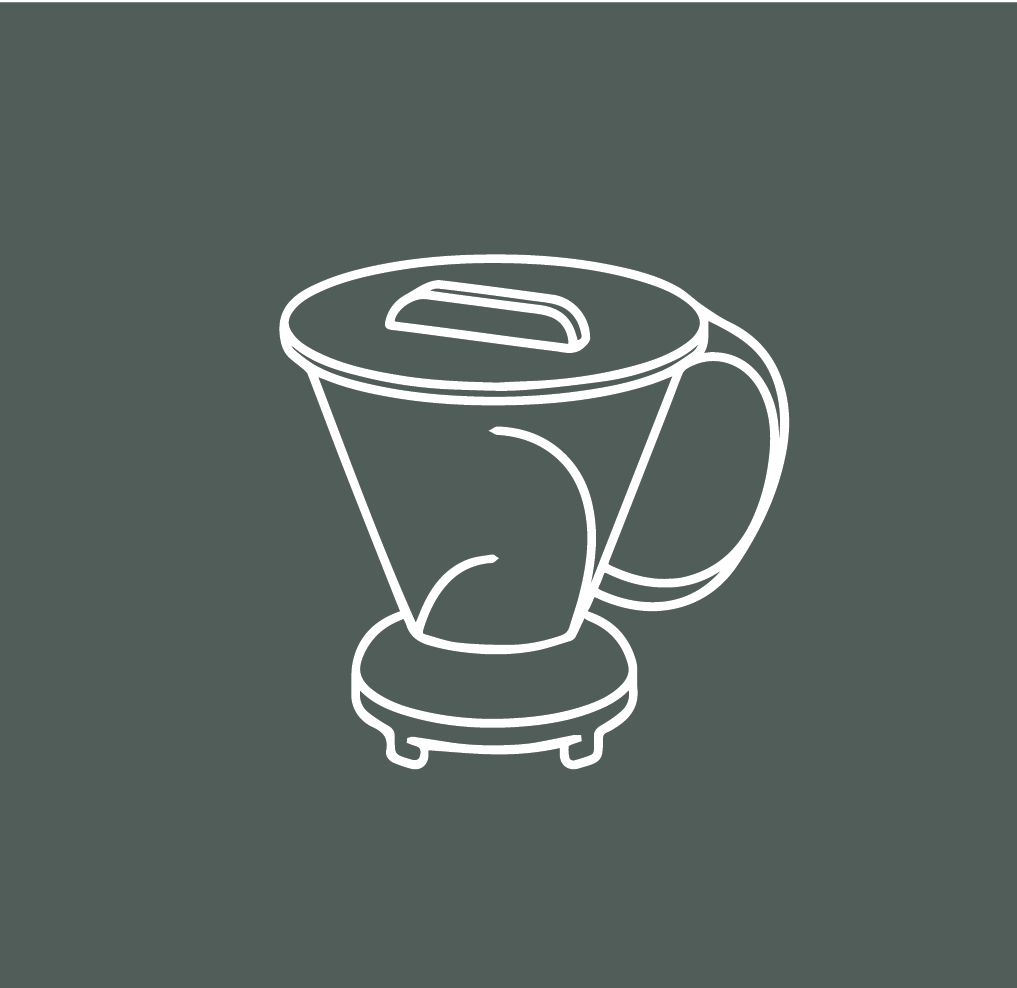
A favourite immersion brewer amongst the team.
6g of coffee per 100ml of 93 degree water
(for example, brewing enough for one person 15g coffee and 250 ml water or two people would mean 24g coffee to 400 ml water and so on)
OR a 1:17 ratio
Tip: Filter papers used in this preparation do vary with personal preference, therefore it’s tricky to suggest one paper solution, but the key to using any filter paper is to pre-wet the paper surface inside the devise before adding your grinds. Make sure to discard the filter water before you proceed to your brew – so not to increase your water volume. Pre-wetting your filter paper will reduce the papers natural flavours from transferring to your brew and also stops the paper from absorbing your brewing water changing your ratio.
Method
Step 1. Pour your water in a generous controlled pour and make sure all the grinds are wetted out.
Step 2. Brew for 2 mintues.
Step 3. Stir and break the formed crust and then drain and decanter.
It is a simple brew method that yields great tasting results.
We recommend a Clever Dripper as it is light weight, ease of use and easy to clean.
Never tried a dripper? Shop our range of immersion brewers here
AeroPress
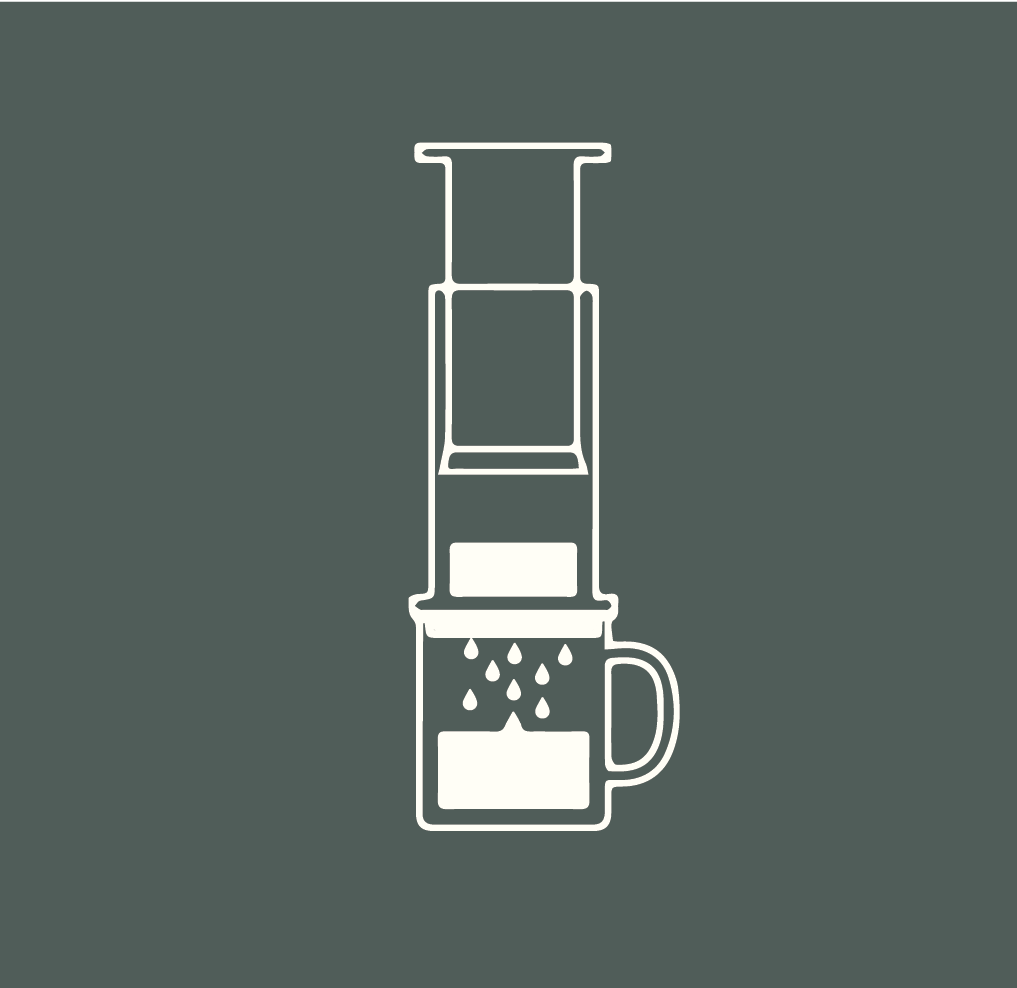
The AeroPress is a hugely popular at home brewing method, known for its consistency and durability. Made for function over fashion, it is our chosen apparatus for travel such as camping and hiking and super easy to clean. The Aeropress is made up of the filter cap, chamber and plunger, and comes with filter papers, a scoop and a stirrer. Although there are a various ways to correctly brew with an AeroPress, we prefer the inverted method explained below..
Coffee ground for an aeropress we recommend in a medium-fine grind (often described roughly the size of granulated table salt).
Our recipe uses 14 grams of coffee to 200 grams of 93 degree water.
Otherwise measured on the go as a rounded scoop of coffee grinds and boiling temperature water that has rested for a minute or so.
Method
Step 1. Place paper filter into the filter cap and use hot water to rinse/prewet the paper (removing those undesirable papery flavours). Set aside. You can also use this time to preheat aeropress chamber.
Step 2. Place plunger inside chamber with the rubber stopper sitting at the highest number (it should be around 3 or 4).
Step 3. Sit the whole aeropress upside down on the table top (with the plunger handle sitting on the table).
Step 4. Add coffee grinds into the chamber followed by the hot water and gently stir as little as needed to make sure all the grinds are saturated.
Step 5. Add the filter cap and paper and let it brew for 2 minutes 30 seconds.
Once brewed, flip the aeropress onto the cup or serving vessel and press down the plunger with constant pressure.
French Press

Brewing with a French Press/Plunger is a super easy, failsafe method. It produces a smooth and clean textured coffee with lots of sweetness
The steps for brewing with a French Press are similar to using the Clever Dripper, but with a slightly longer brew time
Coffee ground for a French Press has a courser setting with larger particle to carry the longer brew time. Because of the large grind size French Press can be suitable for both filter roast and espresso roast. If you like black coffee you should choose a filter roast, if you prefer a dash of milk in your coffee we’d suggest an espresso roast.
To prepare, follow the same coffee to water ratio: 6g/100ml 93 deg water.
Method
Step 1. Pour all water into the vessel, don’t fuss about wetting the grinds in a particular fashion. but make sure they are all wet out.
Step 2. Brew for 4 minutes.
Step 3. Once brewed, stir the crust with a spoon then skim the crust off and (like skimming a soup – these grinds don’t add any extra flavour to the coffee we tend to find they are bitter and dry).
Step 4. Plunge slowly so not to agitate the grinds, the results will be cleaner in your cup.
Serve and enjoy.
